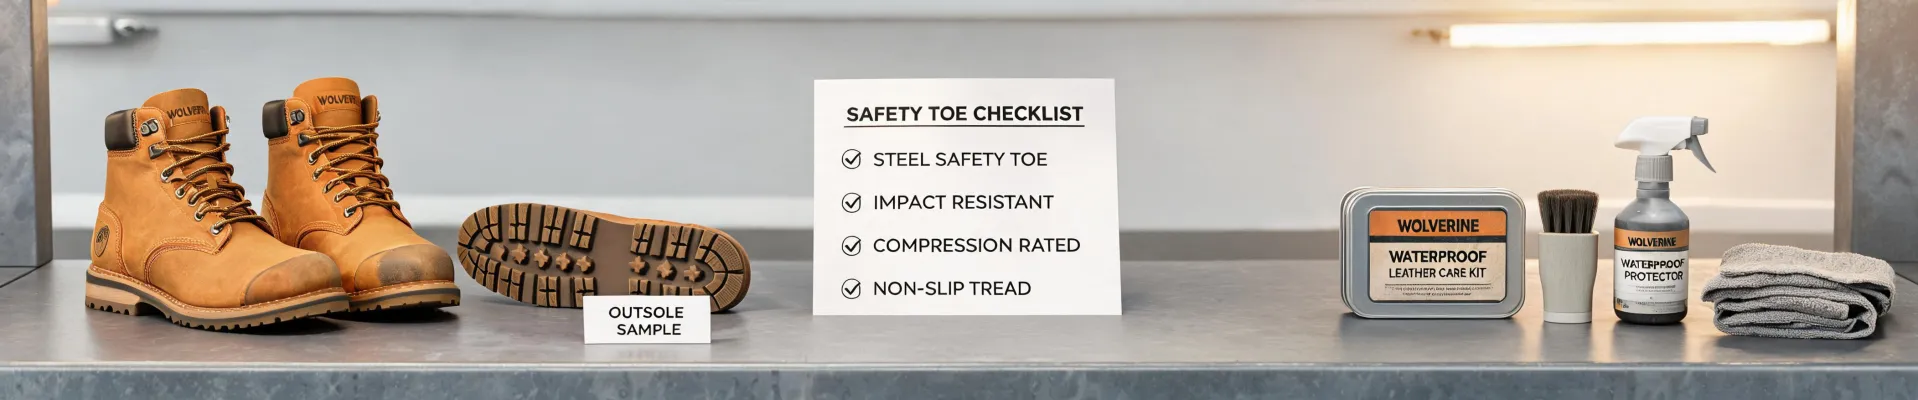
If you're responsible for sourcing work boots for a crew—whether it's 20 people on a single site or 200 across three locations—you've probably run into the same mess I did when I took over purchasing in 2020. Specs are scattered, sizes are all over the place, and the one guy who needs steel-toe also needs waterproof because his site has no drainage.
This isn't a theoretical guide. This is the checklist I wish I'd had before I ordered the wrong batch of Wolverine men's Rancher waterproof Wellington work boots for a crew that mostly needed lace-ups. That mistake cost me roughly $1,400 in restocking fees—and I still had to make the right order anyway.
Here are the 6 steps I now follow for every boot and PPE order. Total time saved: about 2 hours per cycle, which adds up when you're processing 60-80 orders a year.
Step 1: Map the Job Roles to Boot Specs
Most buyers—myself included at first—focus on brand and price. The smarter approach is to start with what each role actually does. A welder on a concrete floor needs different protection than a crew supervisor who's walking between a warehouse and a gravel lot.
I created a simple spreadsheet with three columns: Job Role, Primary Hazard, and Boot Requirement. Here's a rough version:
- General construction — Falling objects, punctures → Steel-toe, slip-resistant (ASTM F2413-18 rated)
- Wet or outdoor sites — Water, mud, cold → Waterproof membrane, insulated (look for Thinsulate or similar)
- Warehouse/logistics — Long hours on hard floors, slips → Alloy or composite toe (lighter), slip-resistant, good arch support
This mapping made it obvious who needed Wolverine work boots for men in the steel-toe waterproof line versus who could get away with a lighter boot. It also killed the temptation to just buy one model for everyone—which, honestly, would have been easier but would have left half the crew uncomfortable.
Quick note: I'm not a safety engineer. I verified these mappings with our site foreman and cross-checked against OSHA guidelines. Your mileage may vary depending on your specific hazards.
Step 2: Narrow the Product Range
Once you know what each role needs, you'll have a shortlist of boot models. Don't go broader than 3-4 models unless you're managing a very large workforce. I've found that with 2 models per role (one standard, one premium option), you cover 90% of preferences without inventory chaos.
For example, for our wet-site crew, I settled on:
- Standard: Wolverine Rancher waterproof Wellington (steel toe) — rugged, classic pull-on style, good for guys who do a lot of bending and squatting
- Premium: A composite-toe option with more cushioning — for the guys who are on their feet 10+ hours
The conventional wisdom is to offer the widest possible selection. My experience suggests otherwise: too many choices lead to analysis paralysis for the crew and overstock for you. I cut our boot models from 12 to 4 and saw zero complaints, plus faster turnover.
Step 3: Don't Forget the Rest of the PPE
Here's the blind spot almost every admin I've talked to misses. You're ordering boots, but your crew also needs hard hats, safety glasses, vests, and coveralls. It's tempting to treat these as separate orders. Don't.
When I consolidate orders, I add a PPE checklist to the same request. Things I now automatically include:
- Hard hats — Type I vs Type II depending on the site. Type I protects from top impact (most construction), Type II also protects from side impact (more common in manufacturing).
- Safety glasses — ANSI Z87.1 rated. Don't cheap out. I once bought a bulk pack of $3 glasses that scratched within a week.
- Coveralls — If any crew needs insulated ones, I add Carhartt coveralls insulated to the order. Worth the premium for durability.
- Tactical vests — This one surprised me. When I asked a new crew supervisor what his team needed, he said "tactical vests." I asked what he meant: plate carriers? He laughed and explained they use them for tool vests with molle webbing. Now I know: what is a tactical vest? It's a vest designed to hold equipment—in their case, tools and radios, not armor.
Adding these to the same purchase order saved our accounting team the headache of reconciling 5 separate invoices. It also let me negotiate better bulk pricing—though I should note that only works if you have a consistent relationship with the supplier.
Step 4: Validate Sizing Before You Order
I can't stress this enough. Boot sizing is not consistent across brands, and even within Wolverine boots, different lines can fit differently. The Rancher Wellington fits wider than some of the lace-up models, for example.
What I do now:
- Request a sizing kit from the supplier (a few pairs in different sizes for the crew to try on).
- Have each person confirm their size in writing. Email is fine.
- Keep a file of everyone's preferred size and boot model. Update it yearly.
I once skipped this step because I was in a hurry. The crew supervisor gave me sizes for 18 people. Turned out 5 of those were estimates. I ended up with returns for 3 pairs and two guys wearing boots that didn't quite fit. That was a lesson I only needed to learn once.
Step 5: Check the Small Details
This is where the checklist gets nitpicky—and where most mistakes happen. Before you hit "submit order," verify these four things:
- Steel toe vs composite toe. Steel toe is heavier but standard for most construction. Composite toe is lighter and non-conductive (good for electricians). Don't mix them up.
- Waterproof. Not all work boots are. The Wolverine Rancher Wellington I mentioned is waterproof, but not every Wellington is. Check the product description carefully.
- Width. Men's boots come in D (standard), E (wide), and sometimes 2E or 4E. A lot of guys need wide but don't know it. If someone has a high instep, they probably need wide.
- Return policy. If the supplier charges a restocking fee, factor that into your decision. I now only work with suppliers who offer at least a 30-day return window for sizing issues.
This level of detail might seem excessive, but trust me—the time you spend checking these boxes is way less than the time you'll spend processing returns.
Step 6: Review the Order Form with the Supplier
Before you finalize, call or email your supplier contact and read the order back to them. Seriously. I've caught three mistakes this way—once, the supplier entered the wrong SKU for a boot model, and another time they missed the waterproof spec.
I also ask for delivery dates in writing. I've never fully understood why some orders arrive 3 weeks early and others 2 weeks late. My best guess is it comes down to which warehouse is fulfilling the order. Either way, having a confirmed date means you can plan around it.
Common Mistakes and How to Avoid Them
A few things I've learned the hard way, so you don't have to:
- Ordering for "average" rather than actual. If you have a crew of 20, don't order 10 medium, 6 large, 4 extra-large. Get the actual breakdown from the supervisor. I once ordered 12 pairs of medium safety glasses—half the crew needed large.
- Ignoring the budget for accessories. Boots are the headline cost, but the total includes shipping, taxes, and return shipping if you get it wrong. I budget 10% extra for these overheads.
- Sticking with the cheapest supplier. The vendor who saved us $800 on a bulk order also couldn't provide a proper invoice—handwritten receipt only. Finance rejected the expense report. I ate the cost out of the department budget.
The bottom line: the most expensive purchase isn't the one with the highest unit price. It's the one you have to reorder because you got it wrong. Use this checklist, and you'll get it right the first time—or at least close enough to make the investment worth it.